Arc Raiders: Strategic Ascension Through Control Tower A6
- Apr 20, 2026
Arc Raiders immerses players into a universe where every step taken can pivot the outcome of the mission. The quest featured in this guide requires a blend of strategy, exploration, and real-time tactical decision-making. In a landscape where the interplay of risk and reward defines gameplay, the experience of navigating intricate structures like Spaceport's Control Tower A6 becomes a memorable journey. The mission emphasizes the importance of preparation, careful resource management, and swift adaptation in an environment buzzing with both potential loot and rival raiders. Players are encouraged to pay attention to subtle details, ensuring that every move serves a dual purpose of advancing the objective and maintaining defensive readiness.
Traversing the In-Game World with Purpose
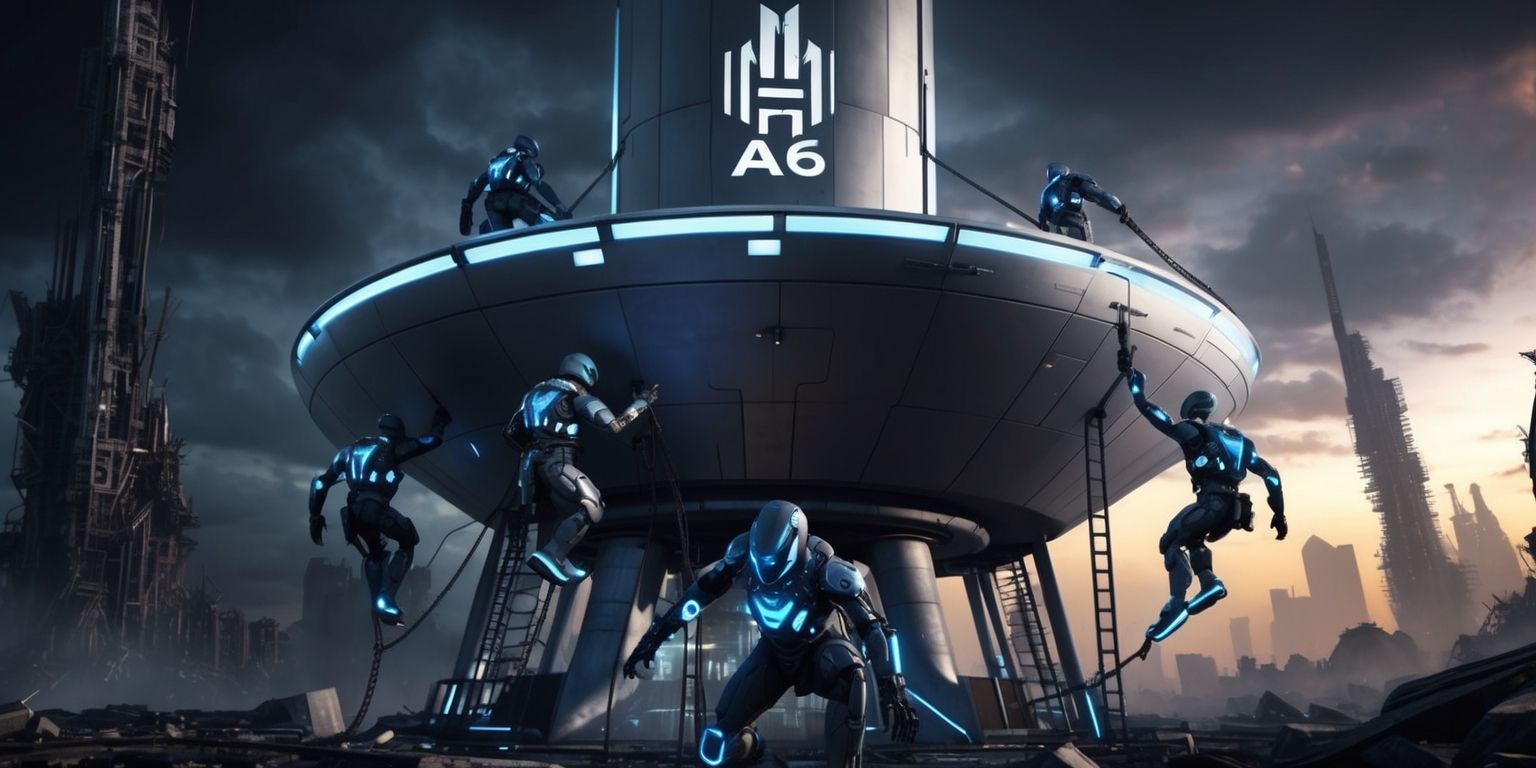
Within Arc Raiders, the environment serves as both battleground and puzzle to solve. At the core of this journey stands the demanding quest of… entering a secured area with deliberate intent. The quest initiates with an exploration of Spaceport's Control Tower A6—a tall and unmistakable structure that attracts both the brave and the opportunistic. This building is strategically positioned, granting players multiple avenues for entry. The process of engaging with the digital confines of the tower aligns closely with the game's emphasis on spatial awareness and dynamic decision-making. From navigating narrow corridors to selecting advantageous points of entry, every action is wrapped in tactical significance. The stage is meticulously set for both combat exchanges and stealth maneuvers, ensuring that players remain engaged throughout the mission.
Mastering the Essential Key Mechanic

Critical to success in this quest is the management of a pivotal item: the Spaceport Control Tower Key. Awarded upon accepting the mission, this key is Not merely a physical object, but rather an emblem of access to restricted zones. Players must secure it carefully, ideally stowing it in a safe inventory slot to prevent misplacement amid intense combat scenarios. Handling the key responsibly enhances the likelihood of successfully unlocking the concealed door leading to vital in-game communication terminals. Moreover, the presence of the key imbues the quest with an added layer of complexity, demanding both foresight and careful planning. The key transforms what It could have been an uncomplicated task that evolved into a… high stakes operation, where every decision regarding its use can influence whether a mission becomes smooth or transforms into an unpredictable contest.
Encountering Rival Raiders and High-Stakes Confrontations
The environment surrounding Control Tower A6 is rarely serene. Given the substantial rewards that lie beyond the secured doors, it naturally attracts other raiders, sparking possible encounters that test a player’s combat skills and readiness for unpredictable conflict. Within these contested zones, one must balance the urge to secure the key objectives while also navigating the chaos of player interactions. Rival raiders, driven by the prospect of high-value loot, may already be contesting key areas, leading to tense standoffs that require both tactical acumen and rapid decision-making. This interplay of competition not only enriches the narrative tension but also It requires players to remain perpetually alert to their environment. Such moments of competitive engagement mirror the broader themes of risk-reward strategy inherent in Arc Raiders, spotlighting every decision's potential to shape the unfolding scenario.
Strategic Entry Through the Double-Locked Doors
Upon reaching the formidable presence of Control Tower A6, players quickly discover that the building is secured with not one, but two locked doors. One door is typically encountered in the main hall area while the other is hidden within a facility lined with red lockers and desks. Both access points lead to the single zipline that is essential for ascending to the tower’s upper levels. Before utilizing the Spaceport Control Tower Key, players must ensure neither door has been pre-opened by another player. The tactics employed in inspecting these barriers add an additional strategic layer, as any premature access by rivals could jeopardize the mission objectives. With vigilance and careful timing, the player must harness situational awareness and proper resource management, turning the unlocking of these passages into an exercise in tactical precision.
Ascension and Vertical Navigation in a Dynamic Environment
Vertical movement in Arc Raiders is orchestrated with the seamless integration of ziplines, providing both rapid ascent and a distinct tactical vantage point. Once a player secures access through the locked doors in Control Tower A6, the next crucial phase involves reaching the upper level of the structure. The zipline mechanism not only serves as a functional tool for vertical traversal but also acts as a gameplay element that heightens the tension of enemy encounters. During this phase, every moment spent on the zipline is a delicate balance of swift progression and heightened alertness. The attraction of the zipline stems from its dual role: it bypasses potentially congested pathways while ensuring "that players are able to leverage their surroundings to their advantage" strategic advantage. This carefully designed mechanic reinforces the game’s emphasis on blending physical agility with tactical smartness.
Terminal Interaction and the Art of Digital Connectivity
Upon successfully navigating to the zenith of Control Tower A6, the mission’s focus shifts to an interactive element involving a terminal. The top floor is equipped with a technological hub where players are required to establish a secure connection. The terminal, strategically placed on the left side of the room, operates as the final piece in the mission puzzle. Interaction with this interface "does not simply involve pressing a button, but represents a" deliberate action that reflects the game’s broader themes of digital connectivity and futuristic warfare. The connection process is designed to feel intuitive yet carries the weight of narrative significance. The act of powering up the terminal serves to underscore the game’s cybernetic aesthetic, where each technological interaction feels both consequential and reflective of a high-stakes covert operation.
Rewarding Loot in the High-Value Key Room
Control Tower A6 is not only critical for mission objectives but is also renowned for its bountiful loot opportunities. Once players are on the upper level, the space around the terminal transforms into a high-stakes treasure trove that beckons with promise. Storage within this room is meticulously designed with an aesthetic that combines functionality with a futuristic flair. Every corner of this area is laden with supplies and equipment items that can significantly enhance a player’s combat readiness and tactical diversity. However, the bounty comes with the inherent risk of attracting rival players who are equally enticed by the potential rewards. In this context, the environment becomes a dynamic marketplace of strategy, where the sheer pursuit of advantageous gear prompts calculated movements and decisive actions that mirror the broader tactical demands of the game.
Evaluating Environmental Design and Aesthetic Nuance
The architecture of Spaceport’s Control Tower A6 stands out not just for its gameplay utility but also for its striking design language. The tower’s imposing structure and distinct placement within the lower middle area of Spaceport create an environment that seamlessly blends futuristic elements with raw industrial design. The use of a tall, easily identifiable tower enriches the immersive experience, providing players with clear visual landmarks that aid in navigation during the most hectic moments of combat. Detailed elements such as the red lockers, strategically placed access doors, and technologically advanced terminals contribute to a setting that feels both authentic and compelling. In essence, the meticulous attention to environmental detail transforms each zone of the tower into a character of its own, embodying the power and potential of a well-crafted game world.
Combating Disruptions Amidst Player Rivalries
A significant layer of challenge in this quest is the potential intrusion of fellow raiders who, drawn by the promise of rare loot, may have already breached key sections of Control Tower A6. The risk of entering a space where another player has already opened one of the vital doors requires quick thinking and adaptability. In these scenarios, the game tests a player's diplomatic and combat skills alike. Whether opting to intercept the adversary with measured force or waiting until the area is less occupied before proceeding, each decision forms an integral part of the adventure. This interplay between anticipation and confrontation demands that players remain ever vigilant and adjust their plans on the fly. The phenomenon of encountering an occupied zone adds an unpredictable element to the gameplay, ensuring that every expedition into the tower requires careful risk assessment and resource allocation.
Navigation Beyond the Tower and Strategic Extraction
After the interaction with the terminal and the subsequent looting phase, the critical phase of extraction comes into play. Exiting Control Tower A6 is as much about tactical retreat as it is about maintaining the momentum of the quest. The game brilliantly integrates the extraction process, requiring players to navigate back through previously secured or contested pathways. This phase challenges players to balance the urge to secure every valuable item with the pressing need to avoid further confrontations. Traversing down the zipline and choosing an optimal point of departure necessitate precision and an awareness of both environmental hazards and the movements of potential opposing raiders. The spatial design of the extraction route ensures that each step taken outside the tower is as calculated as the initial entry, reinforcing the game’s commitment to integrated tactical gameplay.